I am super excited to see my second Pluralsight course iOS Auto Layout: Fundamentals published. There were plenty of challenges for creating the course and I wanted to take the opportunity to discuss some of the things I learned while creating the course. My primary goal in the course was to demystify Auto Layout for everyone. Even when I set out to create the course, I didn’t fully understand every little aspect involved with Auto Layout. I had built a good foundation, but there were gaps, and it turns out once you fill those gaps then Auto Layout is an amazing technology to work with, but even more important, it’s actually predictable.
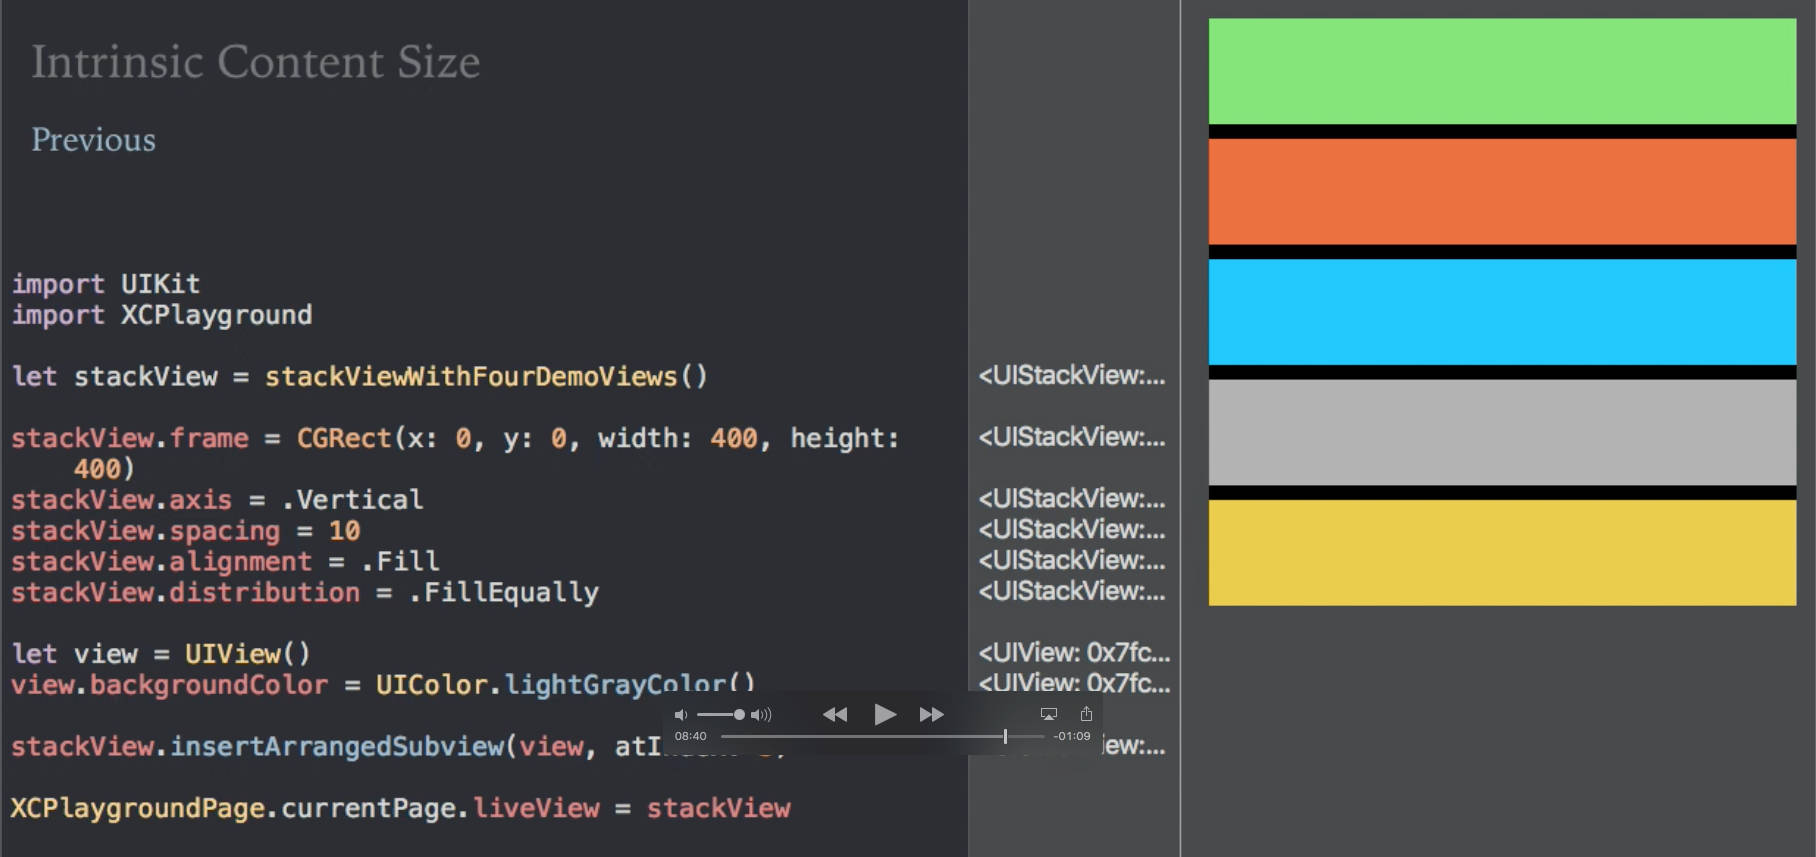
First, I think it’s amazing how much control we truly have over the Auto Layout system. Once you understand each underlying feature that is involved with calculating the constraints you have amazing control over how the whole user interface (UI) will lay itself out. Once you learn about the Alignment Rectangle and the Intrinsic Content Size you have a lot of power. I mean it, you have the ability to dictate where the constraints should connect to your view and what that view’s size should be in its natural state. It might seem like a simple fact at first but once you understand those two concepts then you can start to see why Content Hugging and Compression Resistance are important. As a result, there are a lot of situations that start to make sense. For example, why a plain old UIView will complain about not having a height and width in Interface Builder versus say a UIButton which has an intrinsic content size. Or why toggling the Content Hugging on a UIView will do nothing.
Second, you should never fear the layout process. In one module of the course I dive into using update constraints and layout subviews. There are two simple facts about these two stages in the Auto Layout process. One, update constraints is your opportunity to update constraints for your subview. It works its way from the bottom of the view hierarchy to the top, so make sure you call super.updateConstraints() last. You know that any constraints in your subviews are set to what they need to be, and you can use that information to update the constraints in the current view you are in. This might seem simple, but it makes some people feel uncomfortable. I faced this at work once, a fellow employee thought I was making things too “complex” by overriding func updateConstraints() in our custom view. I asked him where else I should update the constraints. It didn’t make sense to leak that information to the view controller since the view had all the information it needed to update the constraints on its own. Let me be clear, if it makes sense to override it, then do it.
Next, there is the function on UIView called layoutSubviews() and this is another opportunity for you to customize your custom view. This works from the top to the bottom of the view hierarchy so you better call super.layoutSubviews() first or else 😁. At this point you know the size of the parent view and can do any customization for the view. This allows you to work with views that you might not want to have any constraints on, but you can safely set their frame since you know the frame size you are enclosed within. At that point you are free to move onto rendering any custom graphics and drawing that is necessary.
The point is, there is a predictable pattern that Auto Layout uses to perform its layout. You have access to each stage of the process and can therefore update the appropriate pieces at the appropriate time. There is the keyword, appropriate. You should never set any frames when you are in the update constraints phase because its too early and there are frame sizes you could be depending on for you calculation that will change. On the other side, you should not be updating any constraints during the layout phase, it’s too late, the constraints were already calculated and now the frame sizes are being set by the layout system. With Auto Layout once you understand the stages, you can update everything at the appropriate time with confidence. I promise, it won’t sabotage you.
Overall, it’s hard to find the gaps in our knowledge when it comes to Auto Layout. For me the most frustrating part of this course was the alignment rect. It seems simple enough, the alignment rect dictates where the leading, trailing, top, and bottom constraints will connect to your view. Many of us would like to assume its the frame. Apart from Apple’s own documentation and WWDC videos there isn’t a lot of material on it. Google it and you’ll come up with websites that simply copied Apple’s explanation verbatim. Ultimately, I had trouble processing how the alignment rect impacts the frame. You can set the intrinsic content size for your view which will give you a frame to work with. Then when you adjust the alignment rect you are actually adjusting the frame by adding insets. I didn’t get the impression from the documentation that this would be the case. It took a while to figure out, and sure enough it worked. I plan on writing a blog post that will concentrate on this topic in-depth because it’s an extremely powerful concept but can leave a lot of confusion if you don’t know what you are doing.
Finally, I’m happy that the Visual Format Language (VFL) didn’t make it into the course. The original course outline included it, but there was something wrong with that goal. Auto Layout on its own is a difficult technology to wrap our heads around. I know it has taken me a lot of apps and this course to have a firm understanding of everything that goes into working with it. Including VFL would have made things too complex. Let’s worry about Auto Layout in one course and then afterwards we can learn VFL on its own. Ultimately, breaking them apart simplified everything and VFL will get the spotlight it deserves in its own course.
With Auto Layout, knowledge is power. Know the system, know the technology, and you will be fine. So, what’s next? Well I am happy to say that I am already hard at work on the sequel for the course. With the fundamentals taken care of we can turn up the heat a little bit and start to build really dynamic interfaces while leveraging Auto Layout. The second course will utilize Auto Layout and other Adaptive technologies such as trait collections, dynamic text, and scroll view to help you create a UI that will adapt to all iPhones and iPads on the market. In addition, I plan to write a series of articles that cover topics that while mentioned in the course did not get the full attention that they deserved, yes constraint.priority, I am looking at you. So stay tuned, there is much more to come.

